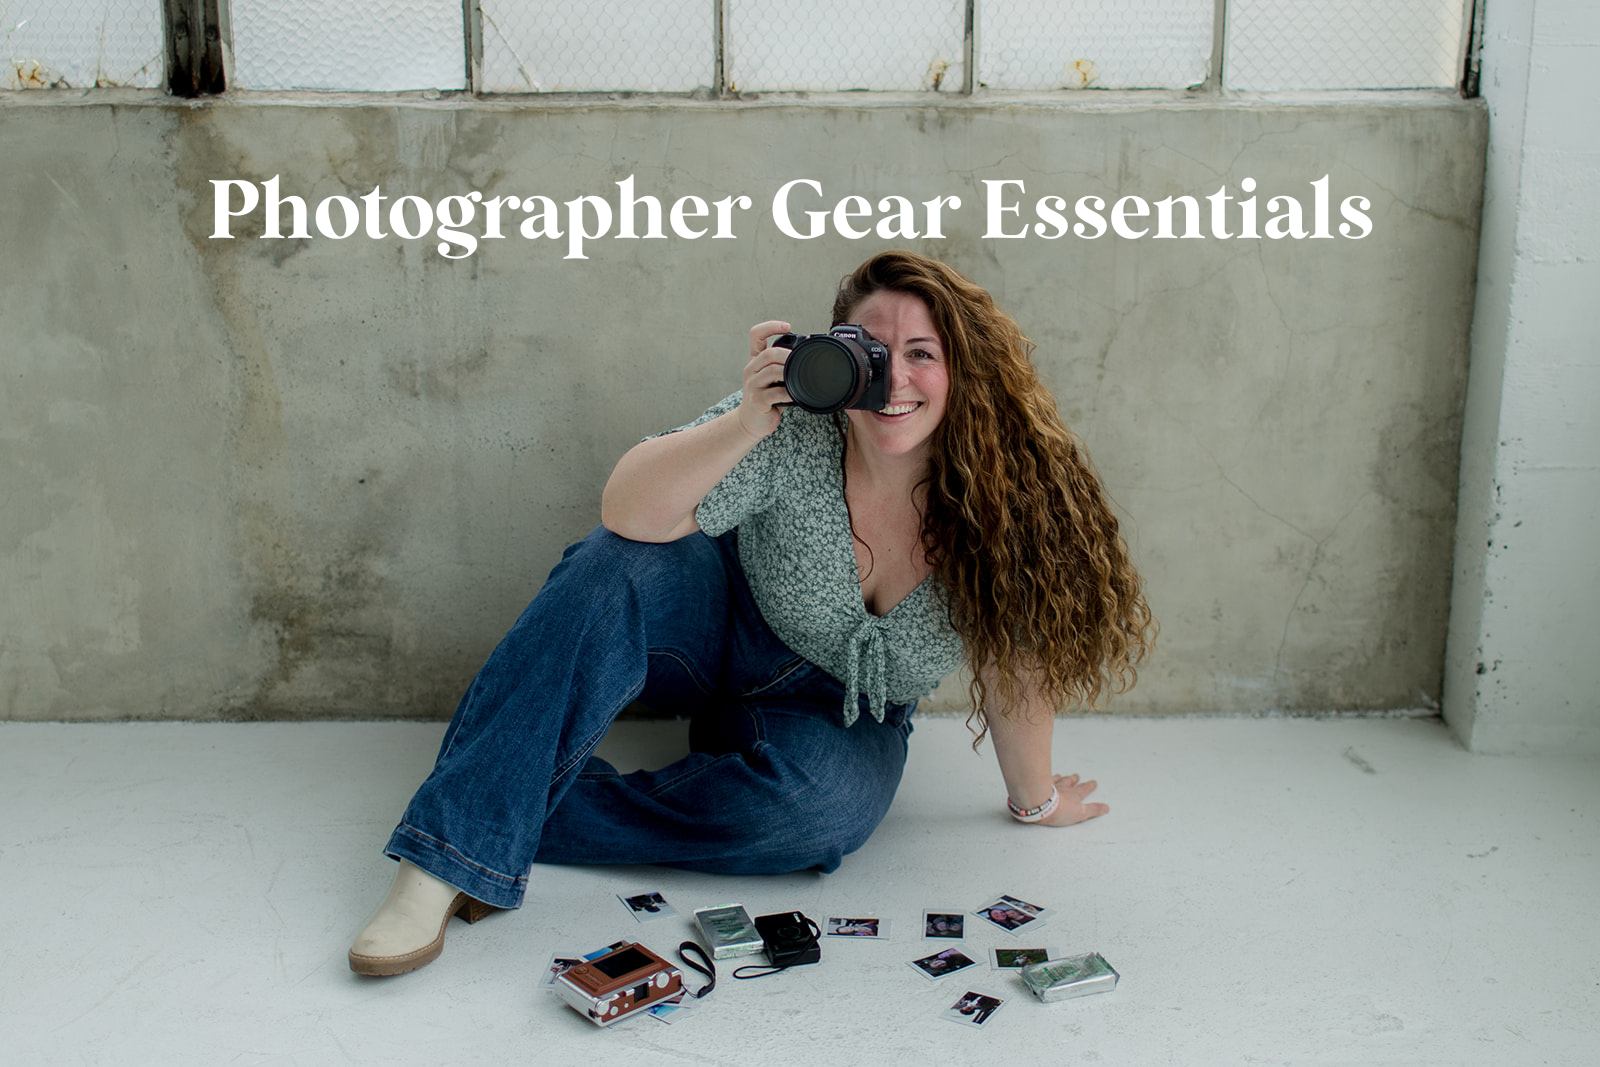
If you have ever wondered what the photographer gear essentials are, I put together a quick list of what I use in my day (or nearly every day) as a professional photographer. As a mom, I made a blog post of the Best Cameras for Parents so if you are looking for some basic camera advice, check out that post here!
When it comes to your gear, you should choose gear that works for you and your budget. If you are just getting started, you may want to be more budget-conscious, but if you own your own business, make sure to use your gear as a write-off.
This post contains affiliate links, I may earn a small commission at no extra cost to you!
Photographer Gear Essentials
Here is the gear I currently use, have used, or want to use and I will indicate this for you in the post so you know my actual review of the products!

Camera Body: I use a Canon R6 Mark II (I also have a second body, which is the Canon R6 Mark I which as of this post seems to be on sale). In the past I used a Canon 5D Mark III, and I LOVED it, I used it for a full decade before I bought my mirrorless camera. I also HIGHLY recommend, if you are charging people for photos, you should be shooting on a camera with two card slots so you can always have two cards to write photos to. Just in case one of your cards has any issues, at least you always have a backup.
Camera Lenses: I have a 35mm 1.4 and an 85mm 1.4 which are both my go-to lenses. I personally have EF lenses (which are meant for DSLR’s since I purchased these for my Canon 5D Mark III). As a heads up, if you purchase an R series or a mirrorless camera body, you will need RF lenses, which are what I linked in this post OR an EF to RF lens adapter if you already have a bunch of EF lenses. I also have a 70-200mm, and REALLY want to purchase either the 24-70mm F2.8 or 28-70mm F2.0. I can’t REALLY decide, I have used both of them and I think I am leaning towards the 28-70mm.

There are 2 types of lenses I primarily work with, prime and zoom. Primes have a fixed focal length (like my 35mm or 85mm) and zooms have a range like 24-70 or 70-200mm, etc. There are also kit lenses (like the lens that was most likely included with your camera purchase), macro lenses, fish eye, telephoto, tilt-shift, wide-angles and I am sure even more I am missing.
Memory Cards: I typically shoot with a 64GB card in slot 1 of my camera and 128GB card in slot 2. I usually keep a bunch of these cards on hand, and I label them with the year I purchased them. I don’t format the cards (delete the images of the 64GB or the 128GB) until I have fully edited and delivered ALL of the images. I prefer Sandisk but Lexar is also great quality. Make sure on your camera that your settings so NOT allow you to take photos without a memory card.

Note about memory cards: Check your camera for the type of card that it needs in order to work properly. For example, my Canon R6 takes cards that are UHS-II which are faster than UHS-I, offering significantly improved data transfer speeds, which is particularly beneficial for professional videographers and photographers. I didn’t know this upon buying my R6 but the guy at the counter told me and I am so glad he did. UHS stands for Ultra High Speed. When choosing your SD card, you need to consider the size and the speed of the card, “Capacity” and “Writing Speed.” I saw a great anaology about cards: the Capacity is like a bucket and the larger the bucket, the more water you can put in it (like a 64GB vs. 256GB card). The more GBs = the more data that can be put on the card. And the write speed (for example: 300mb/s) is like a hose. The faster the write speed, the thicker the hose diameter (like 95mb/s vs 300mb/s), and the faster the water can fill the bucket. I always choose 300mb/s because I don’t want a lag on my card, but I also take a lot of photos of families and weddings where people are moving around a lot. You may not need a faster writing speed if you take headshots or landscape photos.
External Harddrives: I edit on a laptop often (I used to use a desktop + harddrive) because I love a more mobile and reliable work setup that I can take anywhere with me. I also utilize an SSD (Solid State Drive) when editing because they are faster, don’t have moving parts, yet they are more expensive and smaller in storage space. I prefer this Samsung T7 and I like to use a 4TB and fill it up then switch to another one later in the year. Regular hard drives (HDDs) are better for archiving your photos, emptying your SSDs onto, and if you don’t need faster processing times. I like to use these hard drives at home and have all of my photos from over the decade as a photographer stored on them and utilize SSDs for immediate access to photos.


BTS Phone Mount: I am not going to lie, I don’t use this a lot because I don’t love the way the camera feels so bulky with the phone on top, and when I move/change from portrait to landscape so often, but I know a lot of people who DO love it! Check it out here! I have also seen a LOT of people love their RayBan Meta glasses, which I also do not have but I have heard great things.
Tripod: Ok so I love bringing my tripod for my phone for BTS footage, but I have two different tripods (one for my phone and one for my camera) so THIS tripod, truly looks 1. more sturdy than normal phone tripods and 2. allows you to only have one tripod. There are so many different reasons people get tripods but I use mine for BTS footage all the time. Highly recommend!

Photographer Resources
These tools are all a part of my workflow and are currently the programs I use for my business as a professional photographer, these are also referral links and I may earn a small commission at no additional cost to you.

Narrative Select + Edit: I used to cull all of my photos in Lightroom Classic, which significantly slowed things down, led to crashing my computer and essentially just was too difficult to manage in LR itself. Narrative Select + Edit also allows you to leverage their AI editing tools, there are free preset options as well as the ability to create your own presets based on your editing style. What I like about this vs. Imagen’s AI editing is that you don’t need to re-upload your images from LR to Narrative for it to “learn” your style, you simply make the edits, and then Narrative will make the adjustments to the preset for you.
Lightroom Classic: Speaking of Lightroom, I have used LrC since I picked up a professional DSLR in 2010 (well, in addition to PicMonkey and Piknik lol). I used Lightroom Classic vs. Lightroom. Lightroom is cloud-based for photographers who want to edit and organize photos across devices and enjoy the convenience of cloud storage, while Lightroom Classic is for photographers who need the most robust set of features and tools for desktop/laptop editing and managing large libraries of photos. I am a LrC girly for life.


Honeybook: If you are looking for a client management system, Honeybook is insanely robust. I would say this is a solid investment for full-time photographers looking to take their client management to new heights. Workflows, automations, task management, & among many other robust features will take you from intermediate photographer to full-time professional. It’s more expensive than other systems but worth it if you utilize all of its features. They provide a free trial so I suggest taking advantage & if you need help, their support staff is excellent & responsive.
Pic-Time: I have been using Pic-Time for over 7 years now, and I have loved it, although I can’t compare it to much else besides PASS Gallery, which again was used over 7 years ago (but I used it for about 6 years in itself). I love that not only can I create workflows and automation inside the system, but I can make sales (albums, prints, etc.) in addition to sending galleries. I also utilize the Slideshows feature for weddings but haven’t tapped into their blog post feature.

Ok, pretty sure that’s it!
I think this is more than enough to get you started (or to level up) in your photography business, and I hope that I gave you a lot of insight and help that you may need! I will add more onto this post as I think of things or I may create another post. If you are interested in a 1:1 mentorship session (for part-time or full time photographers or hobbyist) or in a group Zoom webinar to learn basic photography skills + editing (best for novice hobbyist photographers), please sign up here on my Google form. I will be building out a course eventually but for now I am tailoring these sessions to my students needs!

you said: